
Hi Friends! Today I’m sharing a quick tutorial with you about how to sew a gusset completely on the serger. I don’t know about you, but I typically avoid sewing knits with my regular machine at all costs. I find sewing a crotch gusset with a sewing machine especially revolting because (a) all that extra fabric flopping around down there, and (b) its so darn fiddly and never seems to work out right. A zig-zag stitch plus a gusset? That’s a total WTF moment for me. But I wants my Avery Leggings and I wants them now! Time to modify the directions to suit my liking.

I have only figured out how to make this work on a three-sided gusset like the one in the Avery Leggings, but I’m hoping at some point I can puzzle it out for a 4-sided gusset since those seem to be more popular in sewing patterns.

The dreaded crotch gusset- not perfect but good enough! And here is my full disclaimer: this method works for me but I’m no professional. Attempt at your own risk (and all you risk is some time with the seam ripper). I’ve used this on all three pairs of these leggings that I have made and so far I’ve had no issues. I am going to walk you through the Avery Leggings directions, but you should be able to apply this to any three-sided gusset.

For clarification: I’ve used a two- sided knit, the right side is the heathered blue and the back is a solid black. The serging is teal. Hopefully this makes things clearer to see. On to THE TUTORIAL!
After cutting the fabric, the Avery Leggings directions start with the gusset, so these will be your first sewing steps. Using the notches, line up the gusset as described in the directions (matching marking).
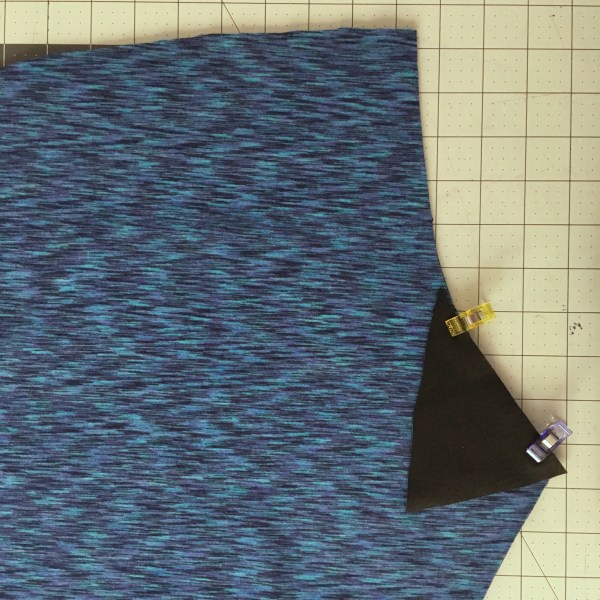
Simply serge from the crotch point to an inch or so above the gusset piece like so:
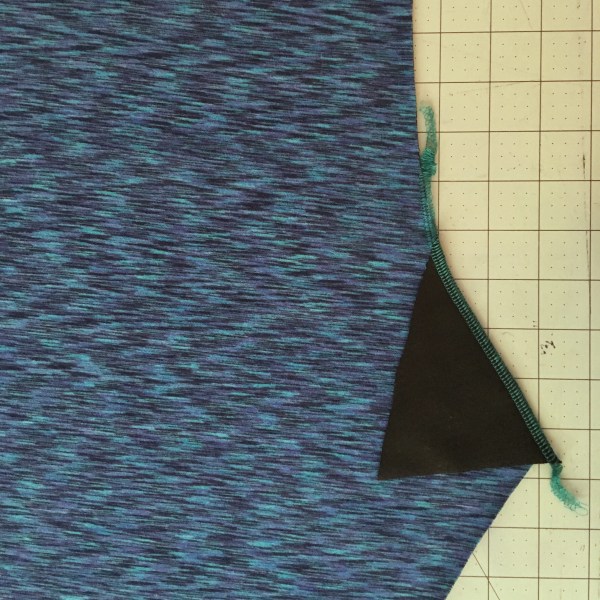
Flip the gusset open and press the seam allowance towards the gusset. This photo is before pressing and you can see that I didn’t quite line the markings up exactly. I find with knits, it doesn’t really matter, but I’m sure you’ll do a better job than me ;).

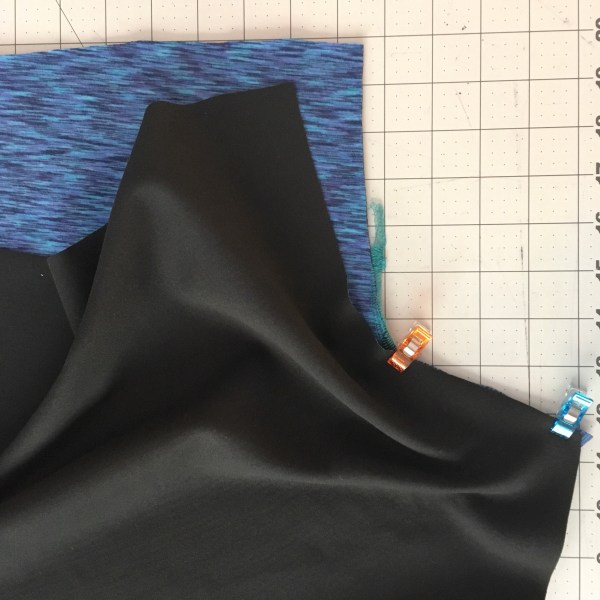
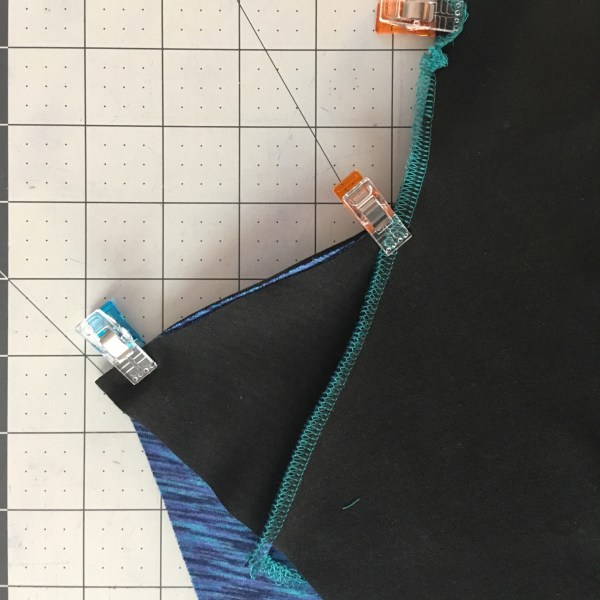
Place your second leg piece over the gusset and first leg piece and start pinning/clipping to the upper point of the gusset.
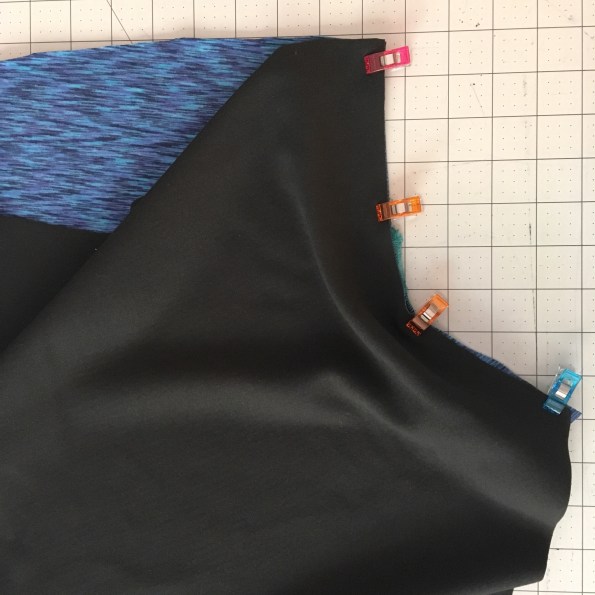
Continue pinning/clipping past the gusset point all the way to the waist seam. You will have to pivot a bit at this point but it will be ok! I took lots of photos here to hopefully help you out.
When you flip it over, this is what it should look like from the back. Note that the seam allowance is still towards the gusset. I like to get a clip in there to make sure it stays that way when serging.
The next step is to sew that seam you just pinned/clipped all the way from the crotch point to the waist seam. Start at the crotch point and serge upwards towards the waist. When you get to the junction at the already sewn point of the gusset, make sure to hold your seam allowance down in the correct direction (towards the gusset) and serge right over that point and keep going to the waist. You may have to lift the presser foot and readjust if the seam allowance isn’t pointing in the right direction as it goes under the presser foot. You want to make sure none of the serger stitches from the first step show through at that seam, so make sure to shave off just a hair using the serger knife as you go over that section (like you see below).

Here is what it should look like when all done. You can see the overlapping serger stitches and everything should be secure. The whole back crotch seam is now complete.

And here it is from the front:

Now you can continue on with the next steps in the pattern directions: serge the front crotch seam and then serge along the the inner leg seams, completing the gusset. Congrats, you are almost done with your leggings! Wasn’t that a quick and painless gusset insertion? Top it off with your favorite Ottobre Hideaway Hoodie and your new curling outfit will be complete (what, just me?).

Sorry for the mediocre photo quality (iPhone’s finest), I hope this all makes sense. Please leave a comment or email me if you try it and it works OR if you try it and it doesn’t make any sense at all! If you have any more helpful tips or clarifications, please send them over and I’ll add them to the post.
As always, thanks for reading!


Thank you, this is so helpful. Great outfit.
LikeLike
Thank you! I hope it works for you!
LikeLike
This makes perfect sense to me. I honestly don’t know why anyone would do it another way.
LikeLike
Thanks Marci!
LikeLike
Thank you so much for this! I almost attached my gusset the wrong way knew I had to find a pictorial on it somewhere.
If you’re still trying to figure out how to do a four sided one, there’s a video from 5 Out of 4 patterns for the gusset in their Ninja leggings. It’s SO easy! https://youtu.be/xi-STXPwZ_s
LikeLike
Thanks Paulette! I’ll have to check that out next time I attempt a 4 sided gusset.
LikeLike
This is so helpful, thank-you!
LikeLike